Documenting a Village Festival: A Photo Story Checklist
October 29, 2026 - Local Stories

October 29, 2026 - Local Stories
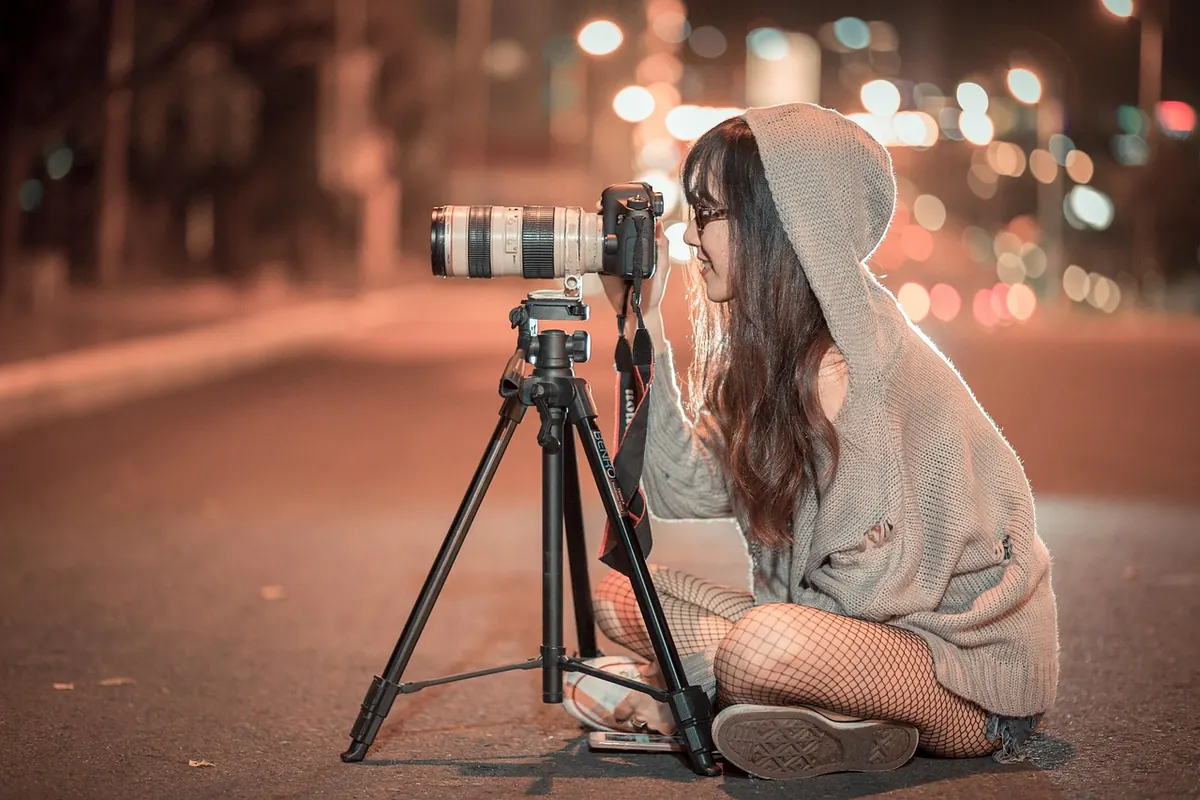
There is a moment in alleyway photography when the street narrows to the width of two shoulders, light falls in a single slab from above, and you have to decide quickly whether to show the whole passage or only the doorway at the far end. More often than not, the lens on the camera makes that decision for you. Two focal lengths come up again and again in this kind of work: 35mm and 50mm. They look like a small difference on paper and behave like a large one in a street — they change how you walk, what you notice, and how the finished frame feels.
Both lenses sit in the same practical family: small, usually fast, unobtrusive on a modest body. In an alley, that matters. You are often close to people's windows, brushing past bins, or standing still in a space barely wide enough for a delivery scooter. A compact prime lets you work without announcing yourself.
The 35mm sits at the wide end of normal — enough to take in both walls without the theatrical stretch of a 24mm. The 50mm is the classic normal lens: close to how the eye reads distance and scale, with the corners of the frame behaving themselves. In tight historic centres, where the buildings are tall and the streets narrow, these two cover most of what you will actually want to photograph.
Stand in the same spot with both lenses and the difference is immediately obvious: the 35mm shows more. Not dramatically more, but enough to include the laundry line, the drainpipe and the corner of the shutter — the texture that tells a reader what kind of street this is.
With a 35mm, an alley reads as a corridor. You get the floor, the flanking walls, a sliver of sky and the vanishing point all in one frame. That is the classic alleyway picture: converging lines, layered light, a figure small enough to be part of the architecture. The cost is edge control. Bins, A-frame signs, elbows and the occasional parked Vespa creep in, and a busy edge will pull the eye away from the centre of the frame.
The 50mm trims the corridor down to a stage. A doorway becomes the subject instead of an element. A window with a plant on the sill fills the frame. Walls stop being scenery and start being borders, which is a useful way to build a picture in a space that is visually noisy. If you like quiet frames with one clear subject, this is the more forgiving lens.
Neither lens is a telephoto, so there is no dramatic flattening here, but the difference in compression is real and worth understanding. The 35mm exaggerates depth: near objects grow, long alleys feel longer, converging walls rush toward the far end. Painted onto a narrow street, that energy is exactly what you want — the walls lean in and the picture pulls you forward.
The 50mm does the opposite in a mild, agreeable way. The far end of the alley sits a little closer in apparent scale to the near wall, so the space feels more even. Faces and hands do not swell near the frame edges. Where the 35mm creates momentum, the 50mm creates balance.
The 35mm tells the reader where you were standing. The 50mm tells them what you noticed.
This is where the two lenses part company in practice, not theory. In an alley roughly two paces wide, there is often nowhere to retreat to. With a 35mm, a full-length figure fits comfortably from where you are standing. With a 50mm, you need to step back — sometimes three or four paces — and the wall behind you does not always allow it.
For half-length portraits, doorways and detail, the 50mm is easier: you stand at a natural conversational distance and the frame fills without crowding anyone. The 35mm forces you closer, which can be an advantage in a busy street (people register you later) or a disadvantage if you want a relaxed expression.
Shoot a 35mm in alleys for a month and you start composing in layers: something close on one side, the corridor in the middle, a lit wall at the end. You learn to get low, to use the cobbles, to place a person against a bright rectangle of light. You also learn discipline about edges, because the wide view punishes clutter.
Shoot a 50mm and you begin hunting: isolating a colour, waiting for a figure to cross a shaft of light, framing a window inside a wall. The lens rewards patience and attention rather than movement. Both approaches are legitimate street photography; they simply produce different bodies of work from the same town.
Answer honestly and the choice mostly makes itself.
One practical note if you use a smaller sensor: a 35mm on an APS-C body behaves like roughly a 50mm, and a 50mm behaves like a short telephoto. That changes the working distance entirely, so try both on your own camera before deciding which name means what.
Pick one alley you know well — a passage you have walked a dozen times. Photograph it twice, on separate days, with one lens each time. Do not switch mid-street. Walk the same route, stop at the same corners, and let the lens push you around.
Then look at the two sets side by side and ask three questions: which frames needed no cropping, which ones you were able to take at all, and which ones you would hang on a wall. The answers usually point to one focal length — and often to a sensible pairing, with the 35mm as the walking lens and the 50mm carried for the moments when the street gives you something small and specific to point at.
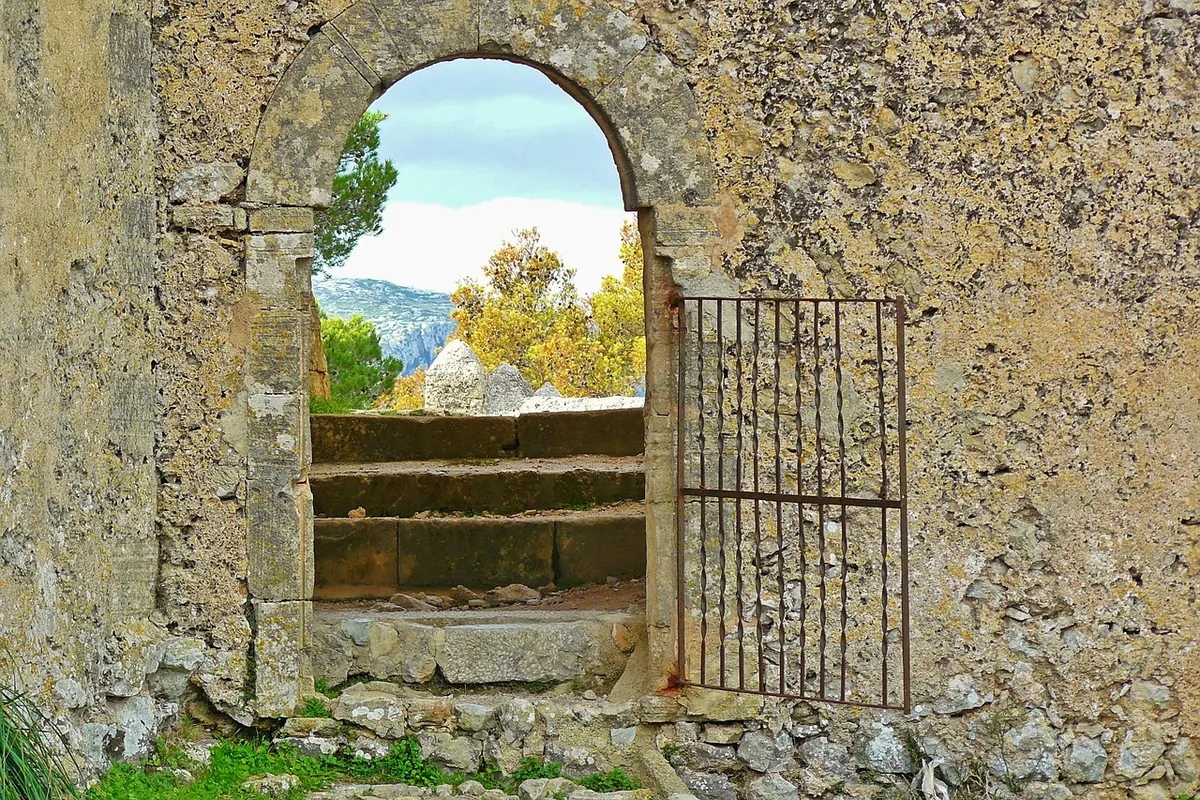
Photo: trinhkien91 / Pixabay
A practical checklist for photographing a village festival — from permissions and route scouting to key moments,...
A practical guide to the doorways, stairways, and laundry lines that give Italian village streets their rhythm, and...
October 29, 2026 - Local Stories
Copyright © 2026 Sguardi Del Vicolo. All Right Reserved.